From a concept to outcome, one of the hardest things I have found to understand was the Art of Patina. This was partly due to the lack of shoes that are specifically made in crust leather or neutral coloured leather, that would enable me to practice on them.
I have also never found a person to teach me. So like many, I scoured the internet for reliable information. There are a lot of people out there who have a great passion and are very helpful in sharing their knowledge.
I firmly run the Saphir flag on my work processes. It is an expensive decision but there is a reason why they are the best.
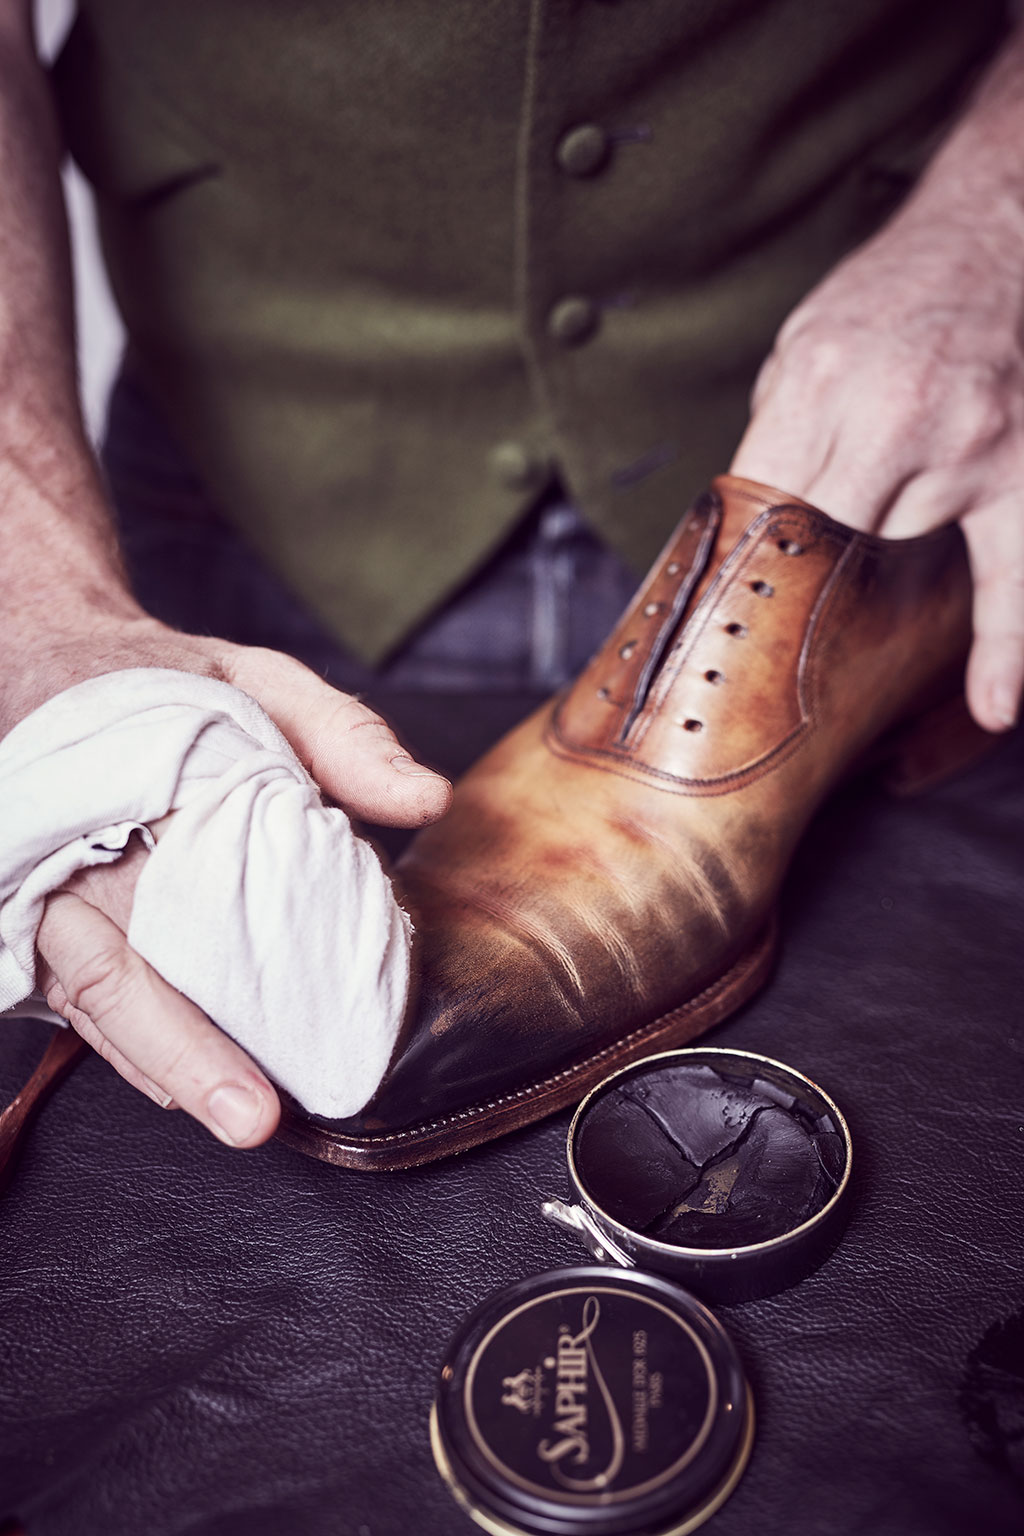
When I chose to prep shoes for patina, I use Renomat. I select my colour tones in the initial consult and swap photos of shoe looks. Once the surface is prepared, I start with light colouration, then work in middle tones and then strip back highlight areas.
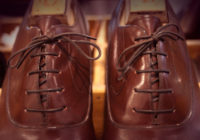
I use Saphir Tintura as they have a good selection of light and mid-tones. Smooth translation of colour between light and mid-tones and a good brush such as the Mails Shoe Care Co horsehair brush is essential in this process. With the dyeing process completed, I get the excess dye off the shoe with a soft cloth. I love a russet brown shoe and tend to gravitate towards some flash autumnal reds. But I have recently been pushing some diesel blue and blacks into the mix on the toe and vamps.
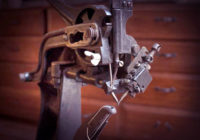
One of the secret weapons for patina is the good old heel iron. If you are struggling with some fluffy/ratty surface leather, you can spend some time glazing the surface with a clean iron. On the other hand, if you have a good leather with fine pores, you can have some fun burnishing the leather. It’s best to use a heated heel iron.